Showing posts with label Home Haunting. Show all posts

Friday, April 18, 2014

Creating Walls on a Budget

Saving money is one thing that just about every haunter, on any level of professionalism, likes to do. So with that in mind, I've compiled a list of wall construction techniques for new haunters and veterans alike! Keeping in mind that with increased quality comes increased increased price, I'm going to TRY to organize these ideas roughly in order along that spectrum.

LOW PRICE - LOW QUALITY

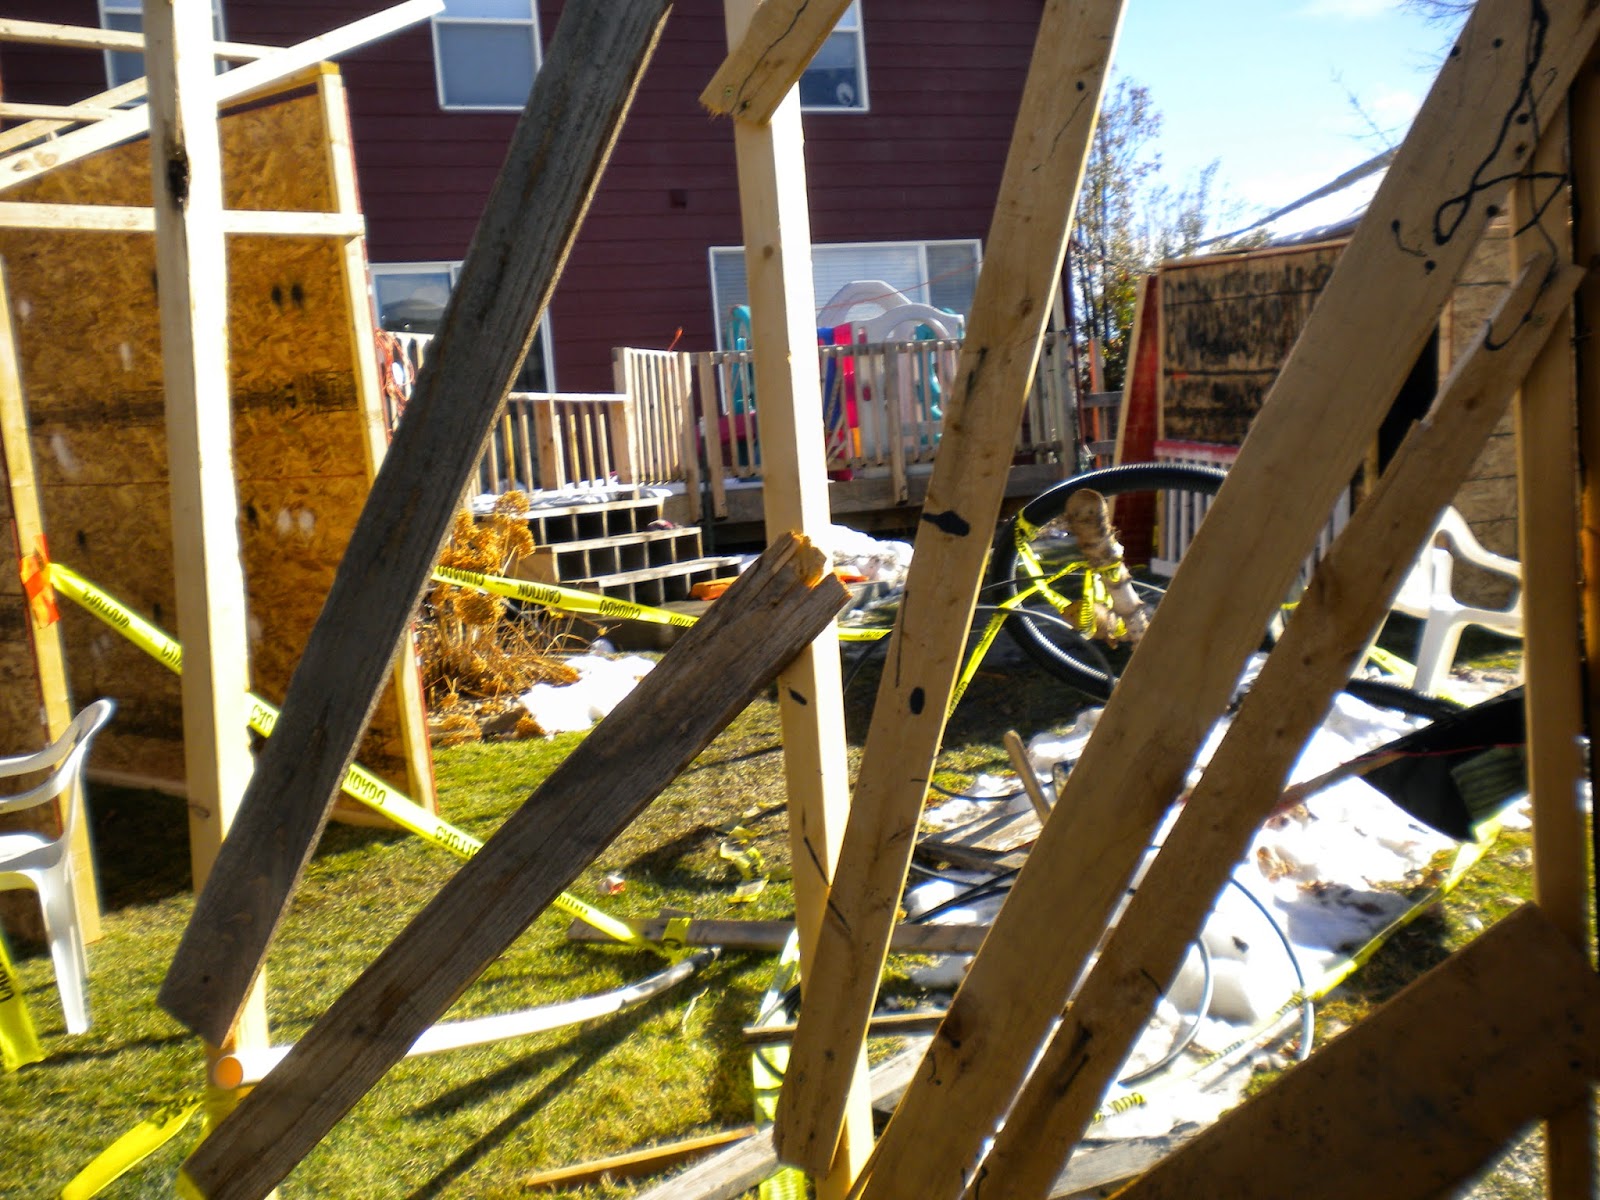
Caution tape and stakes can be used to create an outdoor path through a backyard or a patch of woods for virtually nothing. Don't waste your money on the decorative crime scene tape; in the dark, yellow caution tape looks identical to 95% of your patrons and you can get a massive roll for 6 or 7 dollars.

Black plastic walls, construction stage, The Terror, 2008

Black painter's plastic is the cornerstone of just about every infant haunted house there's ever been. Much like every great CEO starts out as an intern, every top haunted house starts out with black plastic walls. This extremely versatile material is perfect for creating quick walls by hanging it from the ceiling of a garage or from ropes strung across a backyard.

Old bed sheets can be hung just like black painter's plastic to create a scene specific to the color of the sheets. White sheets splashed with fake blood can create an easy butcher or asylum scene!

Painted cardboard wall, The Terror, 2008

Cardboard is often underestimated as a haunt construction material for no good reason at all. True, it's not all that sturdy, but when attached to a solid frame it can be painted and detailed just as you would detail a wooden wall.

Landscaping fabric, which can be found in convenient four foot wide rolls, is the perfect material for a transition from black plastic to more detailed wooden panels. If you can build four foot wide frames out of 2 by 2s and staple on the fabric, not only can you paint the fabric much better than black plastic, but you can also reuse the frames in future years with plywood or OSB instead.

Scrap wood walls, The Terror, 2009

Old scrap wood is extremely useful for creating a farm or hillbilly atmosphere and can often be found for free if you're feeling resourceful! Pay close attention to neighbors remodeling their homes or replacing their fences (there's nothing better than the look of old weathered cedar in a haunt).

Pallet wall behind shelves, Creep Acres, 2013

Pallets can often be found for free but take a good deal of effort to find and move to your haunt. It takes time to find businesses with a few spare old pallets and even more time to move them to your location, but the payoff can be incredible and often cost you nothing!

Cull lumber facade, 2012

Facade in action, Creep Acres, 2013

Cull lumber can be found at the back of your local Lowe's or Home Depot. When these stores find pieces of lumber that are warped, smashed, or dented, they tag them with spray paint and sell them for dirt cheap prices (my Home Depot sells cull lumber for $0.51 a piece). You can often find cracked fence pickets and dented plywood pieces that look perfect in a haunted house!

A behind-the-scenes look at wall panels, Creep Acres, 2013

Panels can be made by building modular (usually 4' by 8') frames out of dimensional lumber and then screwing on OSB or plywood. OSB is the cheaper option, though plywood soaks up less paint and ultimately can be made to look more realistic. Once you have a set of panels, modular walls are easily created by screwing together the panels in any configuration you can dream up.

Walls in the garden shed, Creep Acres, 2010
Exit of the BBQ shack, Creep Acres, 2012

Modified panels can be made out of any material you can find to help make a scene more realistic. Want an old shed? Perfect, throw on some lattice! Need a wall to look like the front of a building? Easy, cut a window in the sucker!

Custom-designed repair shop facade, Creep Acres, 2013

Non-modular walls are one of the final stops for high-detail haunts. While panels limit you to formulaic structures, building your walls from scratch for each project allows for near-infinite creativity. Of course, there's a downside that these walls cannot be instantly re-purposed for future years, so one should always consider carefully the costs of building sets this way.

HIGH PRICE - HIGH QUALITY

Saturday, February 22, 2014

Some of My Old Haunt Writing

Over the years, I've done lots of various writing on the concept of creating and improving haunted attractions for anything from Yahoo Answers to blogs like this one, so I decided it might be nice to archive a few of these long-lost pieces for the general public of haunters to have access to. I've formatted four of these articles into a document on my Google drive for easy access. I'll keep this short and sweet; not everything up on this page is complete or well-written, but there is some good information especially for new haunters and those looking to gain a wider breadth of knowledge of the craft. Without further ado, here is the link for your reading pleasure!

Old Haunt Tutorials

Happy Haunting!

-Collin

Monday, October 14, 2013

10 Last Minute Details for Your Haunted House!

With Halloween rapidly approaching and deadlines closing in on home haunters, the time has come to finish up with construction and get on to the final details of our haunts! So here's a list of 10 cheap and easy ways to add some immense detail to your haunt this year.

Fake electrical, Creep Acres, 2013

1) Add fake electrical.
Walmart sells switches and outlets for under a dollar a piece and covers for under 50 cents. With their help, you can add detail and realism to any wall in just a few short minutes! To take it even another step farther, you can get cheap pipes,

2) Use scents.
Froggy's Fog offers scented cologne sprays for $11.99 which can be used to add an immense layer of realism to any haunt, regardless of all other factors. Remember, even if the visuals in your haunt are cheap and cheesy, attacking a sense other than sight can take the realism to a whole other level. (On a side note, I ordered my scents on a Tuesday and recieved them in the mail the following Monday. So there is still plenty of time for you last-minute home haunters to order scents!)

3) Make yourself a good soundtrack.
Again, even if your visuals are absolute crap, attacking a different sense can truly sell the experience. I'd encourage any serious haunter to put in a few hours searching YouTube and i-Tunes for some potential tracks to send shivers down the spines of their guests!

4) Make a thrift shop run.
Grab $20 and head out to your local secondhand store and you never know what you'll find! All it takes is a creative eye and you'll be able to find plenty of props to fill the shelves of your haunt.

Creep Acres 2013

5) Put in fake vents.
As with the fake electrical, you can easily find cheap air duct covers which can be added to walls for that extra layer of realism.

Mine shaft with pipes, Creep Acres, 2013

6) Make pipes.
Any industrial scene would be incomplete without a few rusty pipes, so why not create a few of your own!? With latex gloves, smear spray insulation all over sections of PVC pipe. Let dry, spray paint a rusty orange color, and screw into place!

7) Create realistic blood.
Spray a roughly 2:1 ratio of red to black spray paint into a small cup or spray paint cap, and splash onto a wall for a super realistic blood splatter! (Using only red paint will result in too bright of a finish, so be sure to include the black.)

8) Remember fog and lighting.
Even the cheesiest haunts can become terrifying spook houses given the right combination of lighting and fog, so be sure to leave yourself time to tweak them!

9) Make clacker gloves.
Buy a pair of cheap work gloves and glue washers onto each fingertip. Now when your actor smacks his hand on a wall, the sound will be louder and more frightening!

10) Make your finale something truly memorable.
Don't have a chainsaw? No problem! Unscrew the blade from your circular saw (you know, the one that you built the place with?), save the bolt that'll hold it together once you're through with it, and you've got yourself a finale scare! As always, exercise good judgement and common sense when scaring with a power tool.

Happy Hauntings everyone! I hope your Halloween seasons are filled with fun and fear and I will see you all on the other side!

-Collin

Wednesday, February 13, 2013

Home Haunt Spotlight: Maximizing A Small Space

As a home haunter, it's often difficult to create a complete experience for your patrons with the space constraints of a small backyard or a two car garage. With that in mind, I decided to make a list of ways to make the most of a small space.

At a basic level, there are two ways to maximise a small space: either make smaller rooms (and therefore more rooms), or slow people down so the whole experience takes longer. It would be impossible for me to list every possible way to do these two things, so remember that essentially anything that achieves one or both of these purposes will effectively make your haunt longer (in other words, don't limit yourself to the ideas discussed below)!

Without further ado, here's my list of space-maximising techniques.

Creating Smaller Rooms:

1) Build narrow hallways. Granted, if you want to have wheelchair access, your halls need to be three feet wide or more, but there is absolutely no reason to make halls wider than that. The less space any one scene takes up, the more scenes you can have in total. In my haunt, I rarely have hallways wider than two and a half feet, with my average being right around two.

2) Use 2-dimensional props whenever possible. Let me elaborate on that; with a small space you don't want to lose square footage to large props. But then of course, you can't have a good haunt without props. So how do you meet both of these demands? It's simple; you establish your setting using wall-mounted props. Signs, posters, family photos, cork boards, warnings, windows, tool racks, and even some not-so-thick props can all be hung on walls without cutting into layout space. As a general rule of thumb, think of anything that you can draw onto a blueprint-style layout of your haunt as a space-consumer, something that detracts from the remaining usable space in your haunt, and be sure to carefully consider the necessity of all of these pieces. (But on a side note, make sure you do have something other than just walls in your haunt, otherwise it's just a bunch of hallways. I would never argue for anyone to do this, just to remove the unnecessary and space-wasting set pieces.)

3) Take time to paint and detail your base walls. If you're lucky enough to be able to afford wooden walls, don't waste this powerful scenic opportunity! Going off of my last point, if you can establish a setting using the existing walls rather than by adding set pieces that take up more horizontal space, you will be left with more walking space and therefore a longer haunt.

4) Utilize floor and ceiling space. The top and bottom of any scene are powerful but often overlooked canvases for telling a story. You often may find that you can't do much to the floor of a scene without creating a tripping hazard (but if you are in a permanent space that belongs to you, a simple coat of paint can do wonders); however, one should never forsake the opportunities that ceilings present. Of course, you can install a wooden panel and paint it to your heart's desire, or cover the tops of your walls with cammo netting or erosion cloth, but also remember that putting a prop above people will never cut in to your workable space; essentially, the same few square feet can be used both for scenic elements and as the patrons' path.

Slowing People Down:

1) Scare backwards. It is often said in the haunt industry that scaring people forward (or from behind) is the best way to run a haunt, but this is only true when the purpose is to increase throughput by pushing people through the event faster. Of course, in the world of home haunting, the goal is rather to slow people down and make the overall experience take longer, and arguably the easiest way to do this is to put a monster in people's path.

2) Use the sense of touch. Whenever people have to push their way through any obstacle, be it as simple as hanging fishing line or fabric flaps, or as complex as a claustrophobia tunnel or moving room, they inherently slow down. This comes, I think, largely from the fact that touch is the only major sense (excluding, of course, smell and taste) that isn't preyed upon by other forms of entertainment; after all, movies can desensitize people's eyes and ears, but most people will still have hesitations when it comes to touch.

3) Make lots of twists and turns. By making your guests change direction frequently, you can both hide upcoming scenes so the haunt seems longer and slow down the patrons' pace. People can't run around 90 degree turns in a two-foot-wide hallway, no matter how loud the chainsaw is behind them.

4) Employ fog, darkness, and other disorienting effects to confuse people. When people can't see where they're going, it takes them longer to get there, so whenever you can, be sure to block or at least minimize patrons' line of sight. (These effects can and should also be used to hide a scare, otherwise you're really just killing one bird when you could take two.)