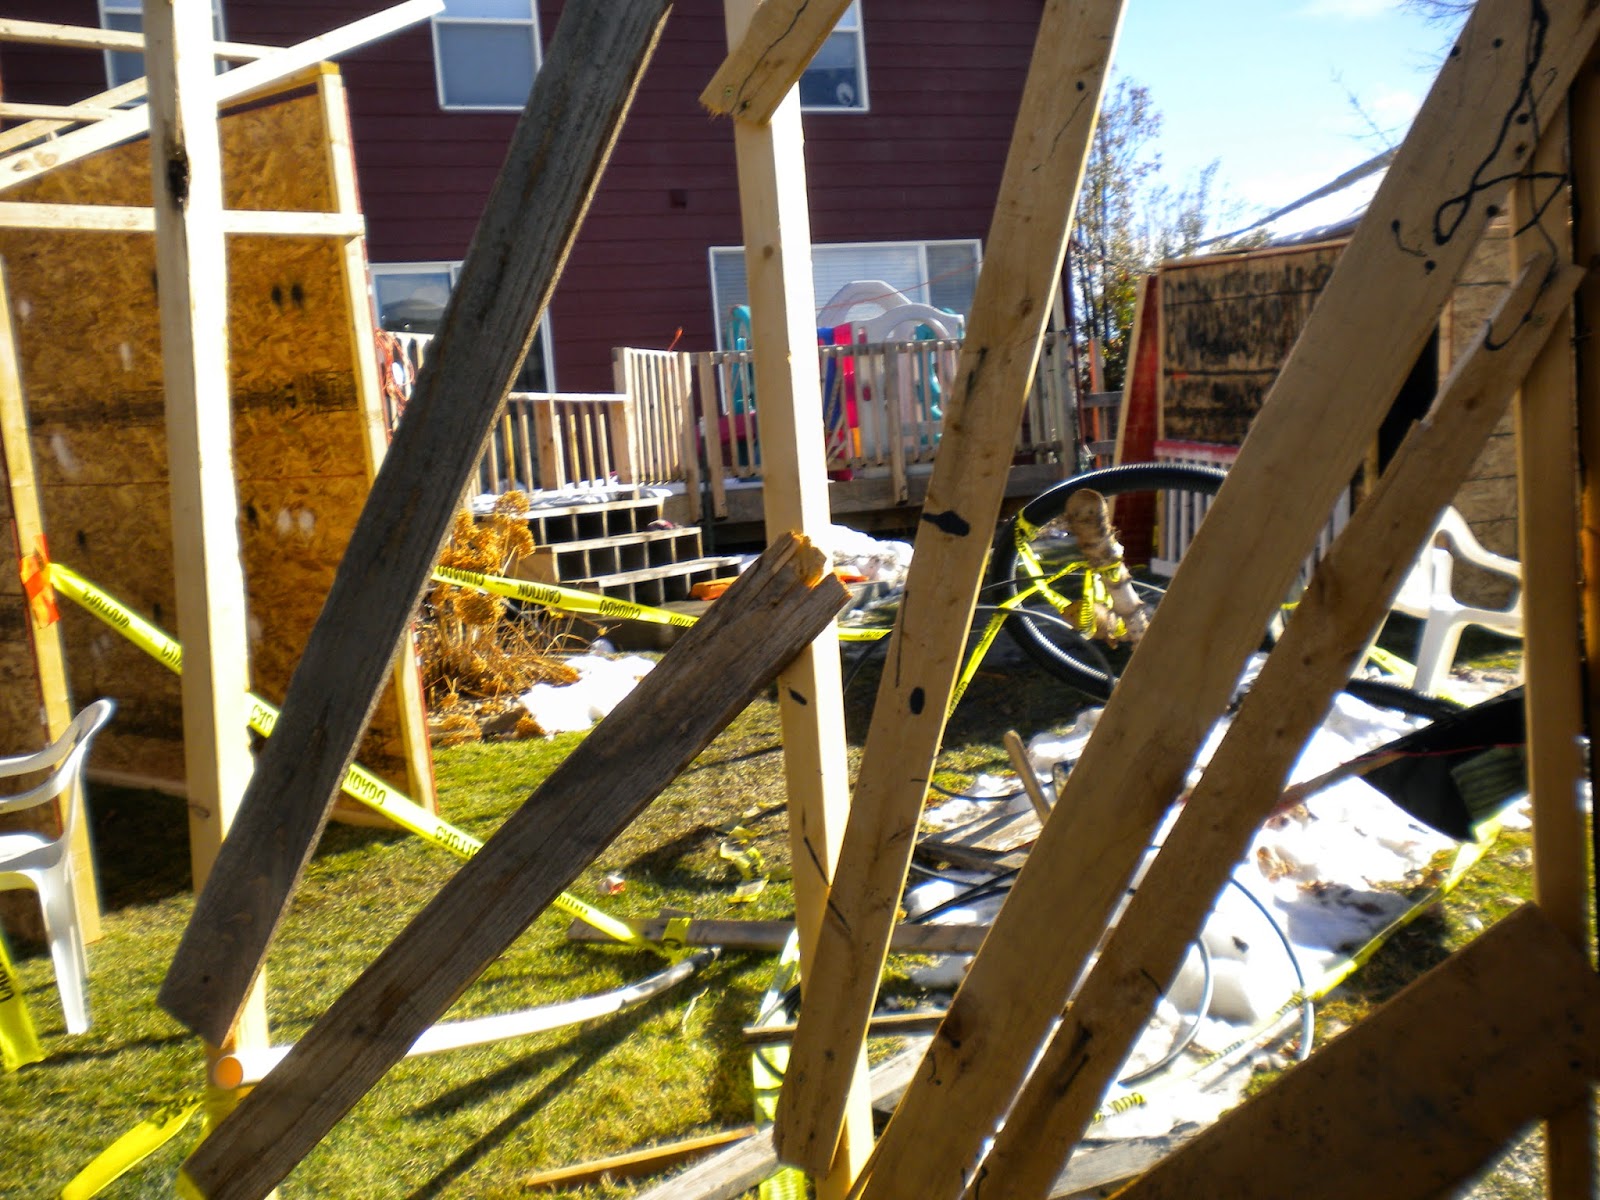
Saving money is one thing that just about every haunter, on any level of professionalism, likes to do. So with that in mind, I've compiled a list of wall construction techniques for new haunters and veterans alike! Keeping in mind that with increased quality comes increased increased price, I'm going to TRY to organize these ideas roughly in order along that spectrum.
LOW PRICE - LOW QUALITY
Caution tape and stakes can be used to create an outdoor path through a backyard or a patch of woods for virtually nothing. Don't waste your money on the decorative crime scene tape; in the dark, yellow caution tape looks identical to 95% of your patrons and you can get a massive roll for 6 or 7 dollars.
Black plastic walls, construction stage, The Terror, 2008
Black painter's plastic is the cornerstone of just about every infant haunted house there's ever been. Much like every great CEO starts out as an intern, every top haunted house starts out with black plastic walls. This extremely versatile material is perfect for creating quick walls by hanging it from the ceiling of a garage or from ropes strung across a backyard.
Old bed sheets can be hung just like black painter's plastic to create a scene specific to the color of the sheets. White sheets splashed with fake blood can create an easy butcher or asylum scene!
Painted cardboard wall, The Terror, 2008
Cardboard is often underestimated as a haunt construction material for no good reason at all. True, it's not all that sturdy, but when attached to a solid frame it can be painted and detailed just as you would detail a wooden wall.
Landscaping fabric, which can be found in convenient four foot wide rolls, is the perfect material for a transition from black plastic to more detailed wooden panels. If you can build four foot wide frames out of 2 by 2s and staple on the fabric, not only can you paint the fabric much better than black plastic, but you can also reuse the frames in future years with plywood or OSB instead.
Scrap wood walls, The Terror, 2009
Old scrap wood is extremely useful for creating a farm or hillbilly atmosphere and can often be found for free if you're feeling resourceful! Pay close attention to neighbors remodeling their homes or replacing their fences (there's nothing better than the look of old weathered cedar in a haunt).
Pallet wall behind shelves, Creep Acres, 2013
Pallets can often be found for free but take a good deal of effort to find and move to your haunt. It takes time to find businesses with a few spare old pallets and even more time to move them to your location, but the payoff can be incredible and often cost you nothing!
Cull lumber facade, 2012
Facade in action, Creep Acres, 2013
Cull lumber can be found at the back of your local Lowe's or Home Depot. When these stores find pieces of lumber that are warped, smashed, or dented, they tag them with spray paint and sell them for dirt cheap prices (my Home Depot sells cull lumber for $0.51 a piece). You can often find cracked fence pickets and dented plywood pieces that look perfect in a haunted house!
A behind-the-scenes look at wall panels, Creep Acres, 2013
Panels can be made by building modular (usually 4' by 8') frames out of dimensional lumber and then screwing on OSB or plywood. OSB is the cheaper option, though plywood soaks up less paint and ultimately can be made to look more realistic. Once you have a set of panels,
modular walls are easily created by screwing together the panels in any configuration you can dream up.
Walls in the garden shed, Creep Acres, 2010
Exit of the BBQ shack, Creep Acres, 2012
Modified panels can be made out of any material you can find to help make a scene more realistic. Want an old shed? Perfect, throw on some lattice! Need a wall to look like the front of a building? Easy, cut a window in the sucker!
Custom-designed repair shop facade, Creep Acres, 2013
Non-modular walls are one of the final stops for high-detail haunts. While panels limit you to formulaic structures, building your walls from scratch for each project allows for near-infinite creativity. Of course, there's a downside that these walls cannot be instantly re-purposed for future years, so one should always consider carefully the costs of building sets this way.
HIGH PRICE - HIGH QUALITY